
This page allows you to 'virtually visit' Garsdale Station and the adjacent section of the Settle-Carlisle Railway Conservation Area (SCRCA).

3 - Location ID: 256570

Garsdale Station Cattle Dock

Photo as per caption. Opens larger version.
Location Type
Cattle Dock
Location Variant
Cattle Dock - 4 pens
Current Use(s)
Disused

4 - Location ID: 256585

Garsdale Station - Coal Bunker

Photo as per caption. Opens larger version.
Location Type
Other Railway Related Location
Location Variant
Exterior walls - Stone
Current Use(s)
Disused

8 - Location ID: 256640

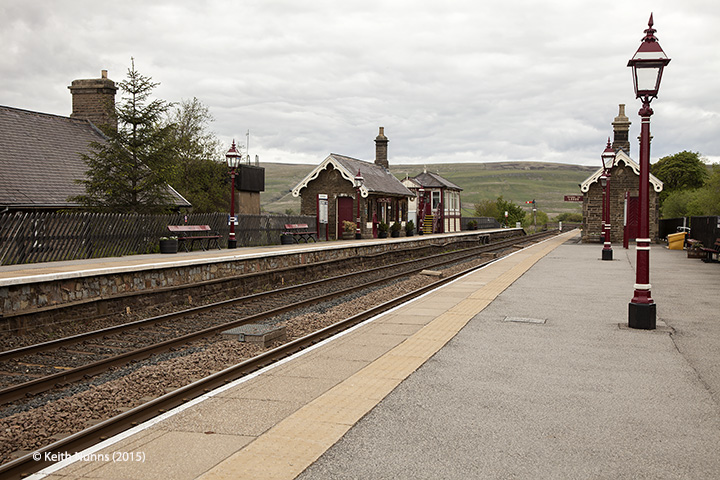
Garsdale Station - Passenger Platform (Down)

Photo as per caption. Opens larger version.
Location Type
Platform (for passenger use)
Location Variant
Platform - Single face
Current Use(s)
Railway ops

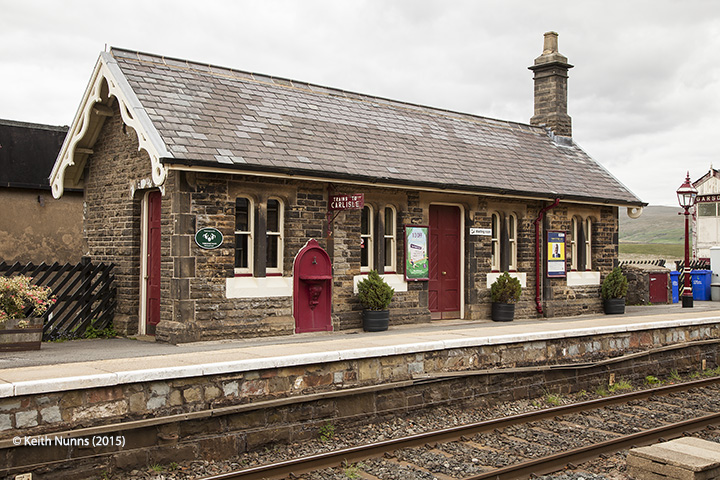
9 - Location ID: 256660

Garsdale Station - Waiting Room (Up)

Photo as per caption. Opens larger version.
Location Type
Station Waiting Room
Location Variant
Station Main Building - Other MRC Design
Current Use(s)
Railway ops

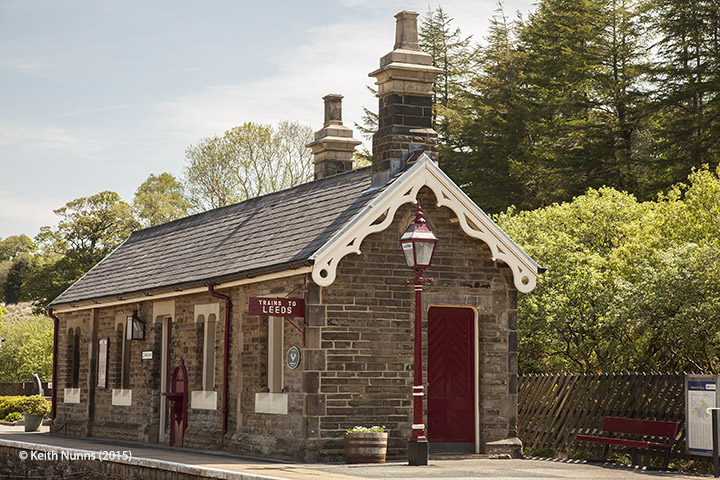
10 - Location ID: 256670

Garsdale Station - Waiting Room (Down)

Photo as per caption. Opens larger version.
Location Type
Station Waiting Room
Location Variant
Station Waiting Room - MRC SCR Standard
Current Use(s)
Railway ops

11 - Location ID: 256675

Memorial to Ruswarp and his owner Graham Nuttall

Photo as per caption. Opens larger version.
Location Type
Monument / Memorial
Location Variant
Memorial Type - Other
Current Use(s)
Memorial

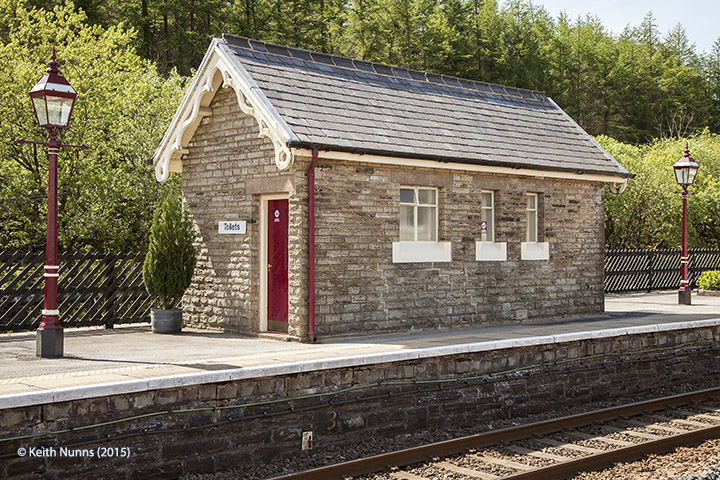
12 - Location ID: 256680

Garsdale Station - Toilet Block (Up - Island)

Photo as per caption. Opens larger version.
Location Type
Other Railway Related Location
Location Variant
Exterior walls - Stone
Current Use(s)
Railway ops

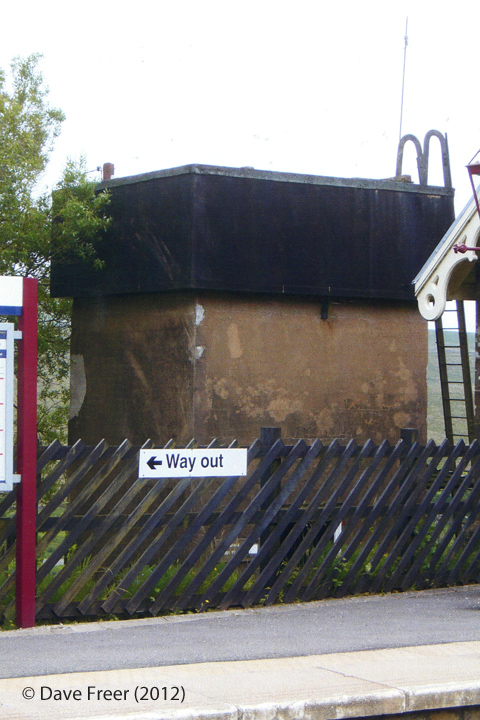
13 - Location ID: 256685

Garsdale Station - Water Tank

Photo as per caption. Opens larger version.
Location Type
Tank
Location Variant
Not Applicable
Current Use(s)
Railway ops

14 - Location ID: 256700

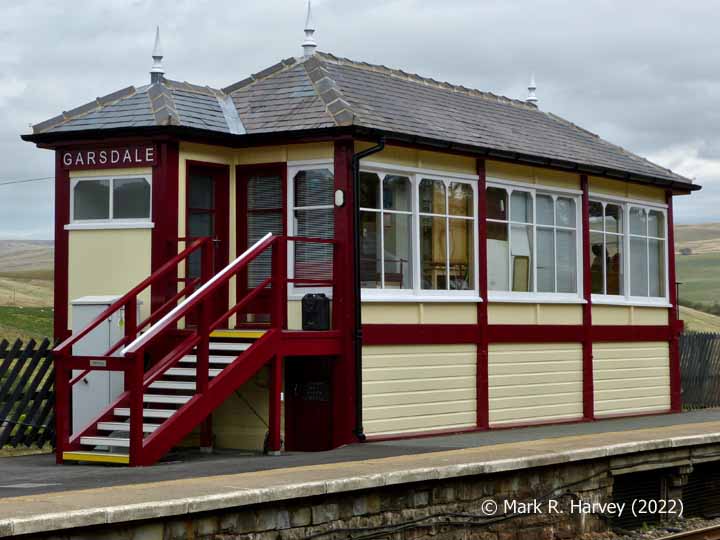
Garsdale (formerly Hawes Junction) Signal Box (1910 - present)

Photo as per caption. Opens larger version.
Location Type
Signal Box
Location Variant
Signal Box - Midland type 4c
Current Use(s)
Railway ops

15 - Location ID: 256720

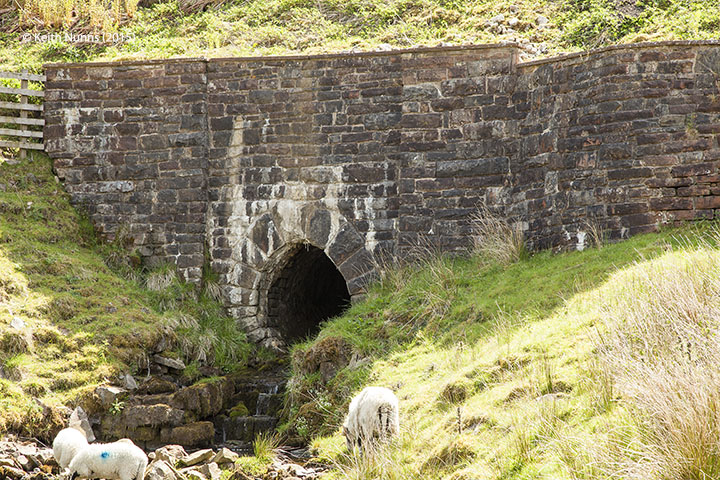
Bridge SAC/115A (culvert 5' 0" diameter)

Photo as per caption. Opens larger version.
Location Type
Bridge (Underline)
Location Variant
Span - Arch (single)
Current Use(s)
Railway ops

16 - Location ID: 256740

Bridge SAC/116 - Mud Beck (occupation)

Photo as per caption. Opens larger version.
Location Type
Bridge (Underline)
Location Variant
Span - Arch (single)
Current Use(s)
Railway ops

17 - Location ID: 256750

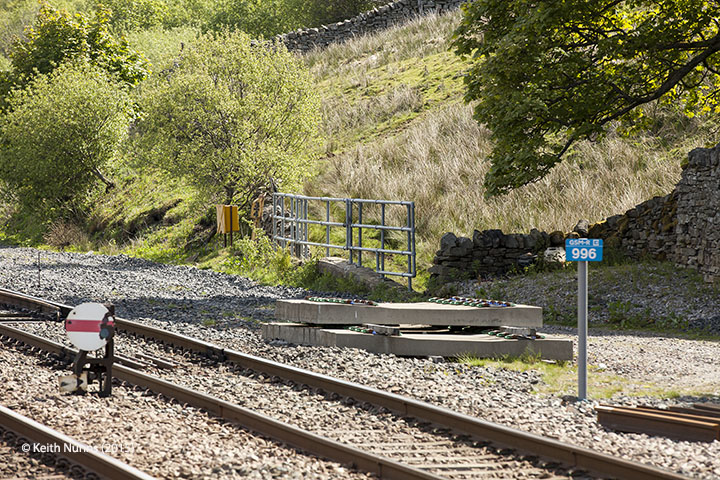
Milepost 256¾

Photo as per caption. Opens larger version.
Location Type
Milepost
Location Variant
Milepost - MR3 - Three-quarter mile
Current Use(s)
Railway ops

18 - Location ID: 256900

Garsdale North Sidings (Up)

Photo as per caption. Opens larger version.
Location Type
Siding
Location Variant
Siding Type - Lie-by or Loop
Current Use(s)
Railway ops

19 - Location ID: 256950

Trackbed of former Hawes Branch

Photo as per caption. Opens larger version.
Location Type
Hawes Branch
Location Variant
Not yet classified.
Current Use(s)
Disused

20 - Location ID: 257000

Milepost 257

Photo as per caption. Opens larger version.
Location Type
Milepost
Location Variant
Milepost - MR4 - Full mile
Current Use(s)
Railway ops

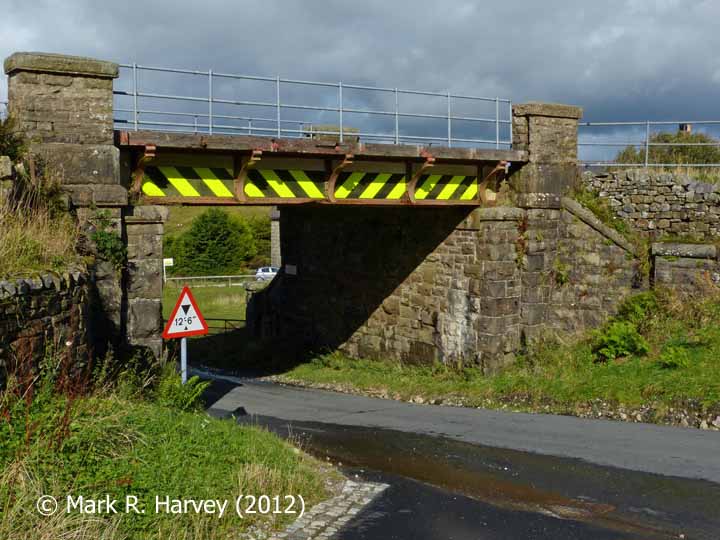
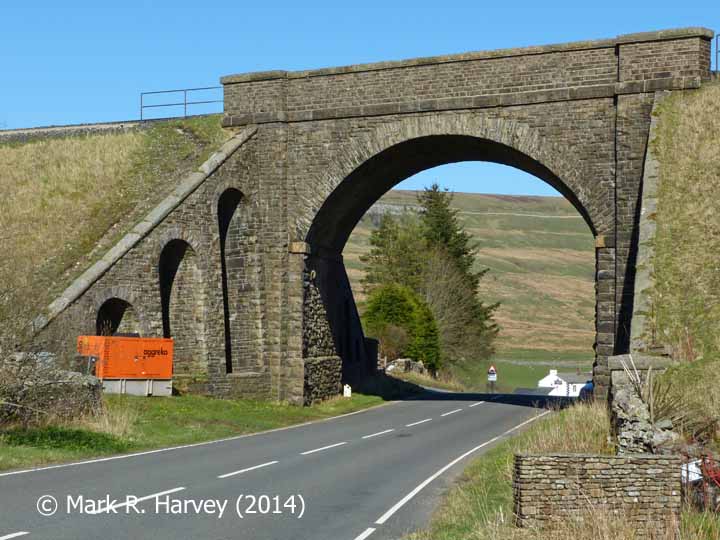
22 - Location ID: 257260

Bridge SAC/118 - Moorcock Road (PROW - A684 road)

Photo as per caption. Opens larger version.
Location Type
Bridge (Underline)
Location Variant
Span - Arch (single)
Current Use(s)
Railway ops

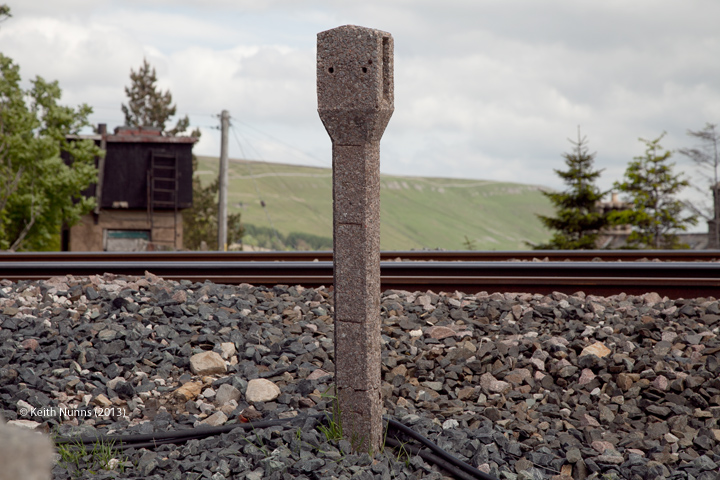
24 - Location ID: 257280

Gradient Post ( level / 165 rising)

Photo as per caption. Opens larger version.
Location Type
Gradient Post
Location Variant
Gradient Post - Other
Current Use(s)
Disused

Pages


Map

The interactive map below shows the approximate location of all the locations currently assigned to this tour. The marker numbers provide a cross-reference to the sequence numbers in the itinerary.

Show / hide tips
  • The maps and aerial imagery will only be displayed if Javascript is installed on your device and enabled for this domain / sub-domain.
  • Note that the marker-positioning is approximate. (It can never be entirely accurate due to slight variations in the positioning of the map / aerial imagery tiles across different map types and scales.)
  • To view brief details for a location in a small overlay window, click / tap on its marker.
  • The layers button (top-right) can be used to switch between two street map layers and an aerial imagery layer. However, please note that interactive mapping makes heavy demands on the internet connection (to download and resize the maps). Page-loading times and data-usage can be kept to a minimum by using the street map layers (#1, esri-world_street_map layer and #2, esri-world_topo_map layer) rather than the aerial imagery layer (#3, esri-world_imagery layer).
  • To view additional information and / or images relating to a location, click / tap on the location's map-marker, then click / tap on the name / brief description in the pop-up window.
  • For additional tips on using the maps and aerial imagery, see "Using the interactive maps".

Practical Considerations

If you are considering a 'real world' visit to Garsdale Station, you might like to note the following:

  • The nearest settlements with amenities are the market towns of Sedbergh (approximately 10 miles to the west by road) and Hawes (approximately 7 miles to the east by road).
  • There is an excellent (but limited) public bus service from Garsdale Station to Hawes (with connecting services to the rest of Wensleydale). There is NO bus service from Garsdale Station to Sedbergh. For further information on the local bus services, visit the Traveline website - https://www.traveline.info/).
  • The structures between Bridge SAC/115 and Garsdale Signal Box inclusive are all visible from the station platforms and / or the station approach roads.
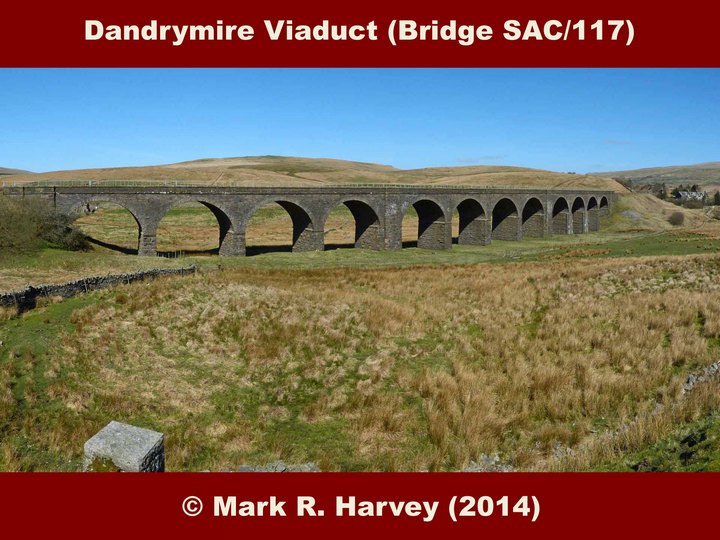
  • The structures between Bridge SAC/115A and Moorcock Cottages can all be seen from the Pennine Bridleway. This runs parallel to the railway, and passes beneath Dandrymire / Moorcock Viaduct. This section of the bridleway has a reasonable (but slightly uneven) unpaved surface and it is relatively easy to find / navigate, even without a map. To find the bridleway, exit the station via the path / station drive, walk a short distance down the Coal Road (the public road that passes below the railway at Bridge SAC/115) and look-out for a field gate on the right, just behind the last / lowest set of railway cottages.
  • The structures beyond Moorcock Cottages are only visible by walking along the FAST and potentially DANGEROUS main road (which has no pavement) or by navigating a series of local public footpaths and bridleways. If you decide to explore beyond the viaduct, stout footwear, warm clothing (even on a hot day), a windproof / waterproof jacket and some food and drink are all highly recommended. You are also advised to carry (and know how to use) a suitable map & compass.
  • On a reasonably clear day, the view from the top of Lunds Footbridge is superb. It includes the head of the Ure valley (Wensleydale) to the east and south, with Shotlock Tunnel and the hills flanking the Eden Valley (Wild Boar Fell and Mallerstang) to the north. To see what this landscape looks like on a glorious sunny day, see the photo captioned Lunds Viaduct (Bridge SAC/121) and Lunds Crossing: Context view from southwest.
  • Useful information for rail-passengers (e.g. details of station facilities, fares and train times) can be obtained from the following: